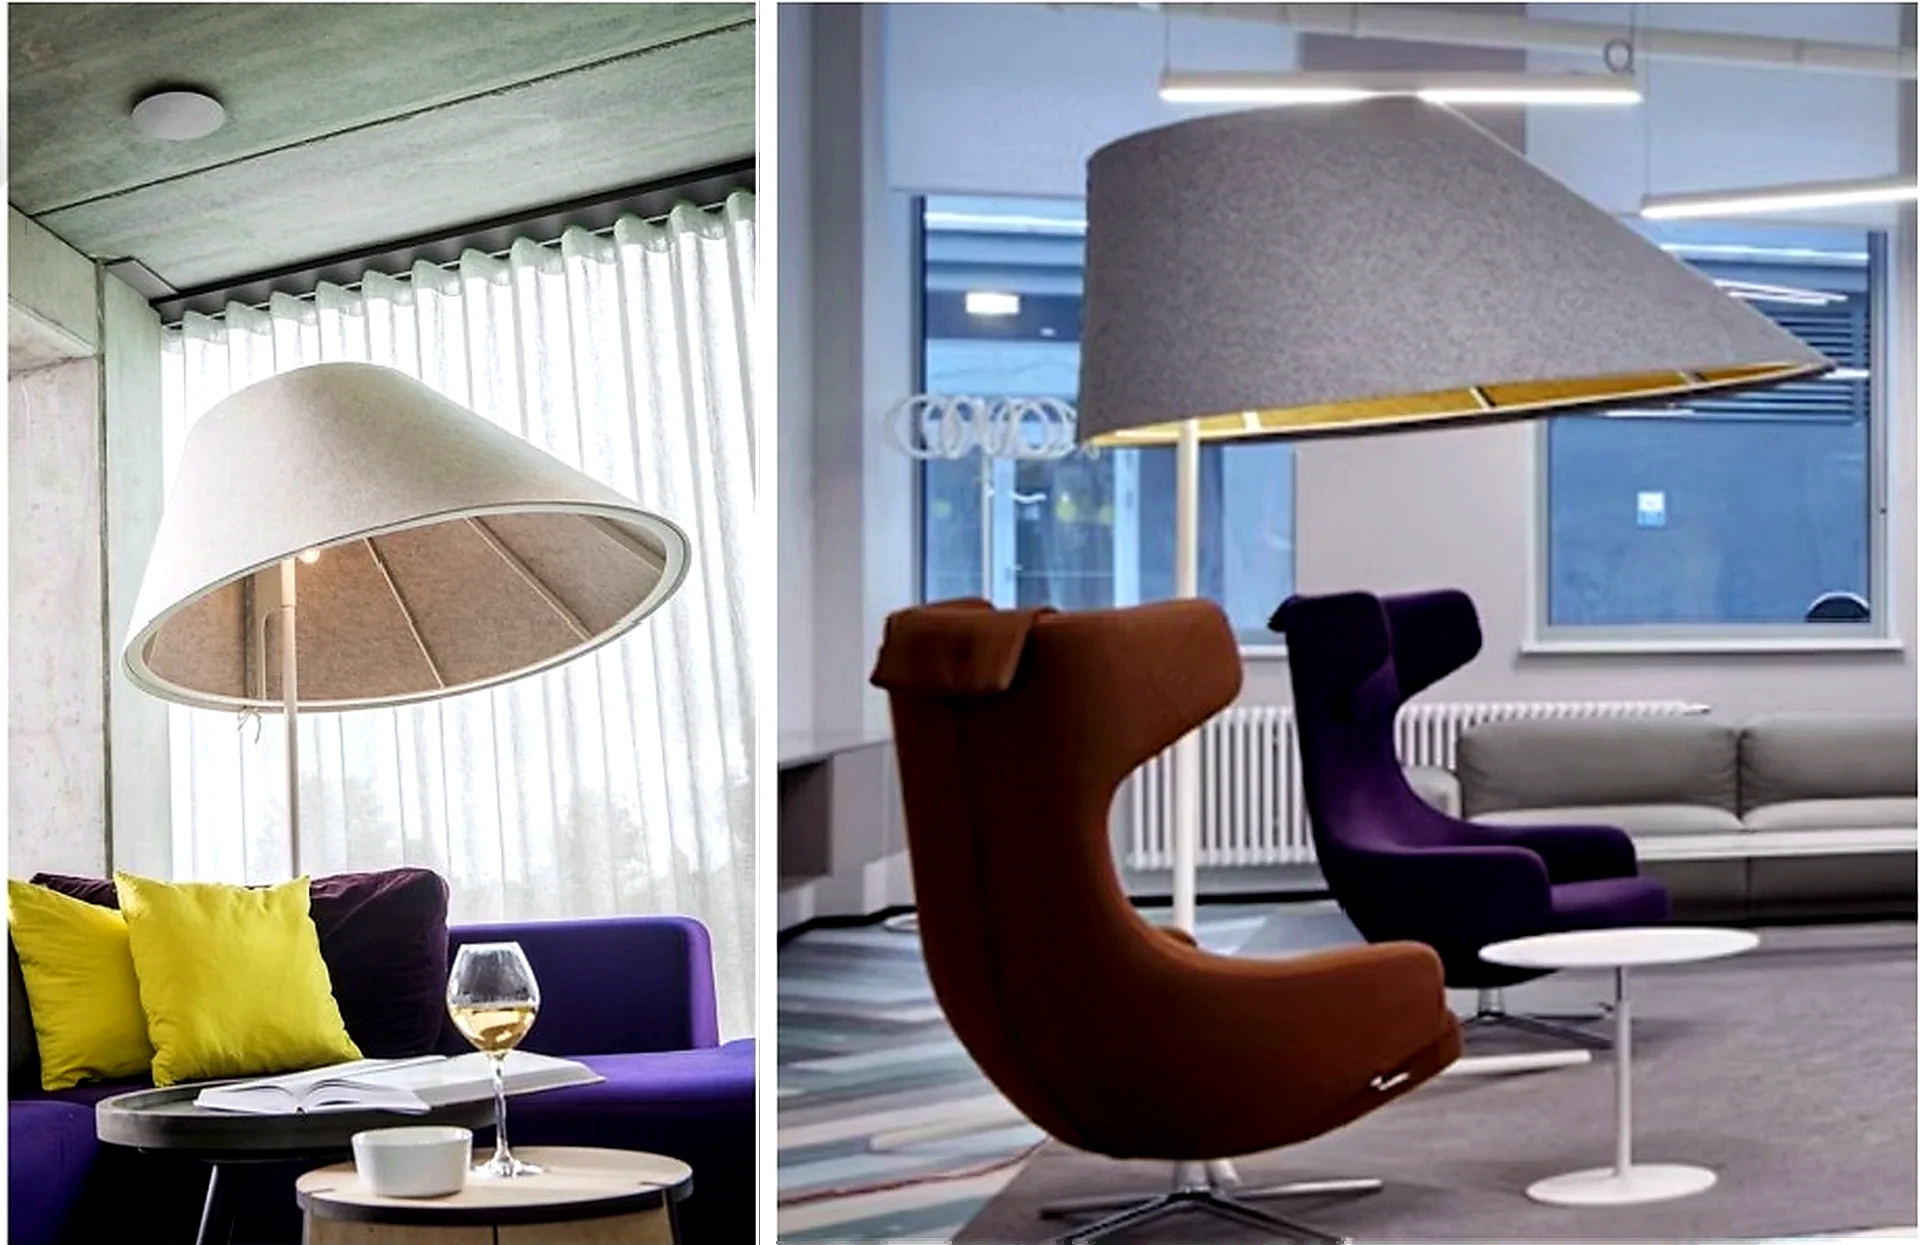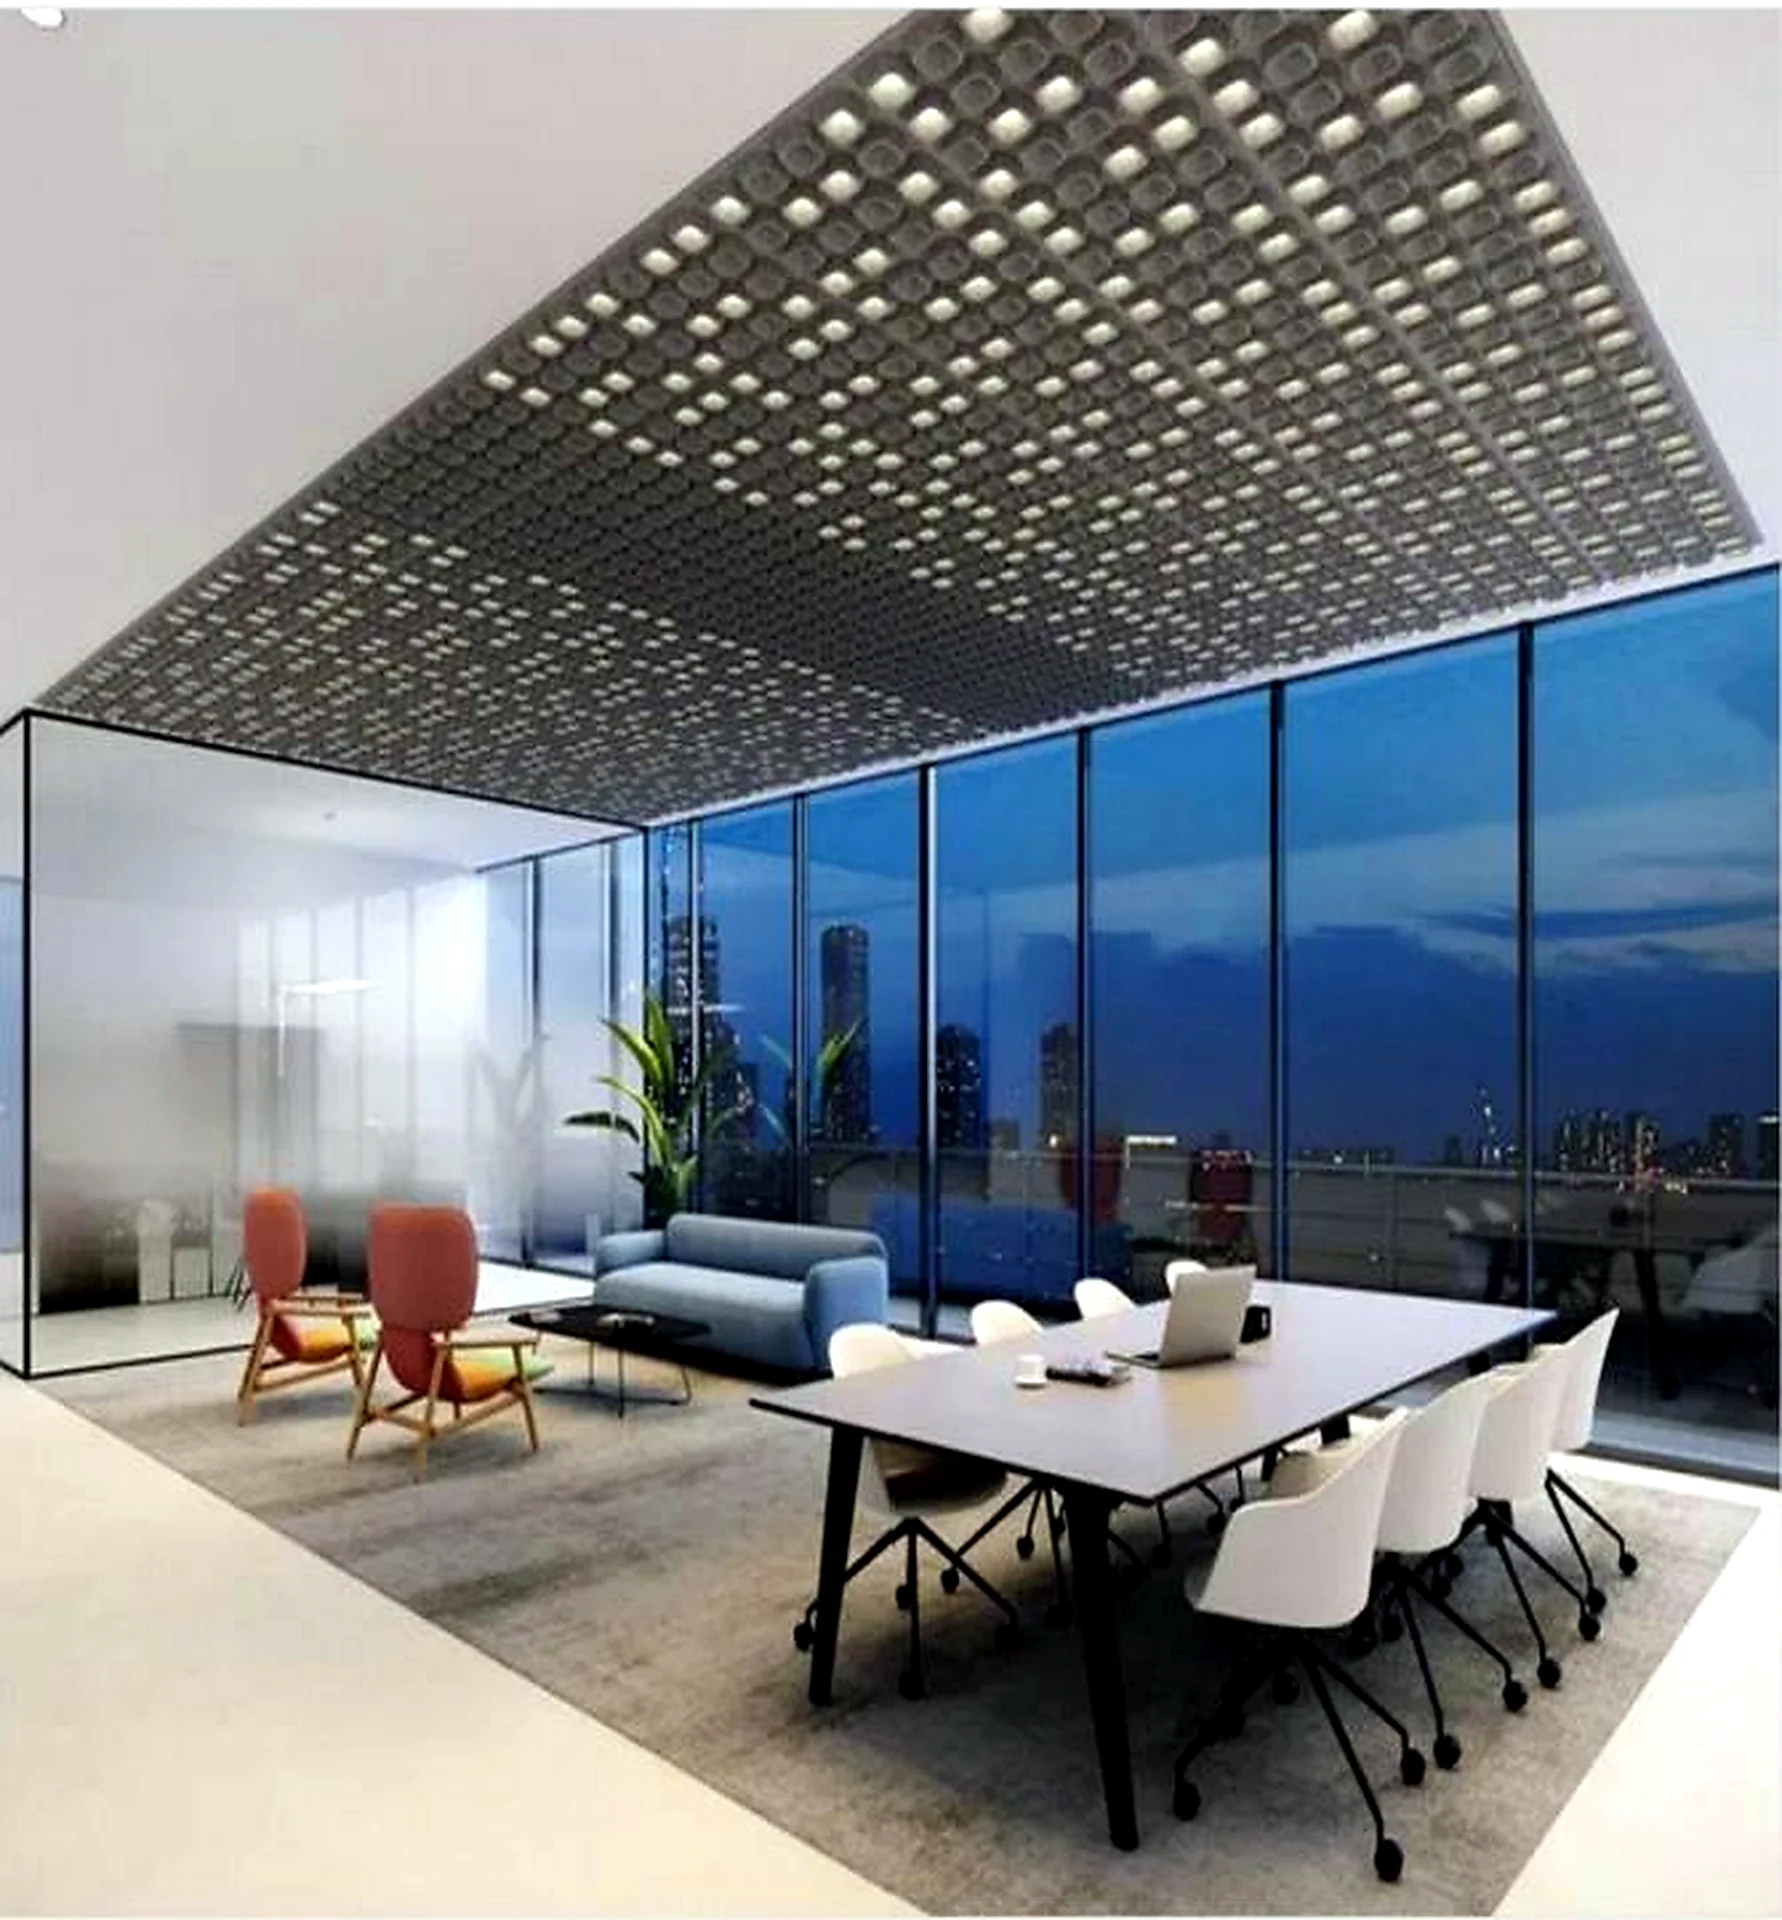
Quick answer: place the pendant around the room's real activity
An acoustic pendant can have the right PET felt, lumen output and test data—and still feel wrong after installation. Too low, it interrupts faces, screens or circulation. Too high, it can look disconnected and spread its light too thinly.
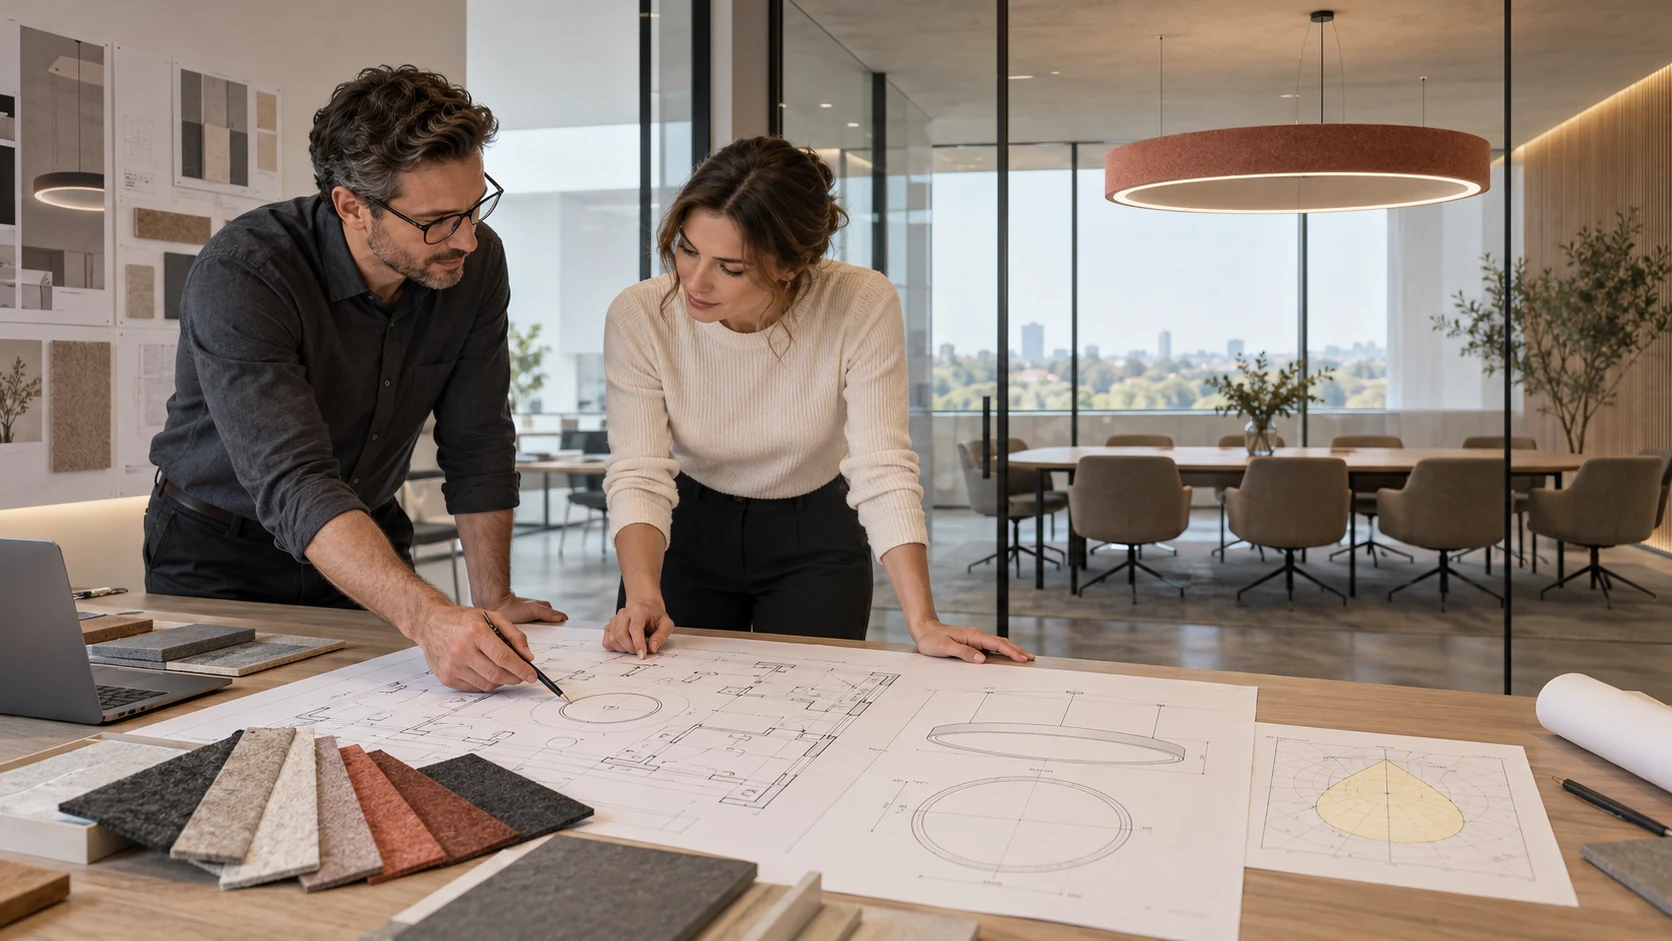
The useful order is simple: people and furniture first; lighting and absorption next; the ceiling grid last. A reflected ceiling plan is graph paper. People do not work, eat or talk according to graph-paper lines.
| Decision | Good early-stage direction | What sets the final value |
|---|---|---|
| Above a fixed table | Start a mock-up around 750–900 mm from tabletop to pendant bottom. | Fixture depth, table size, faces, screens, glare and the lighting calculation. |
| Above workstations | Set the light plane from the desk plane—not from a dining-room rule. | Standing clearance, screen reflections, optic and uniformity. |
| Pendant spacing | Use the fixture's photometric data and mounting height as the first check. | IES/LDT file, optic, orientation, furniture and room geometry. |
| Acoustic placement | Spread absorptive objects through the occupied, noisy zones. | Fixture-level absorption data, total quantity and room target. |
| Ceiling services | Coordinate before production, not during installation. | Sprinklers, HVAC, sensors, structure, access and local rules. |
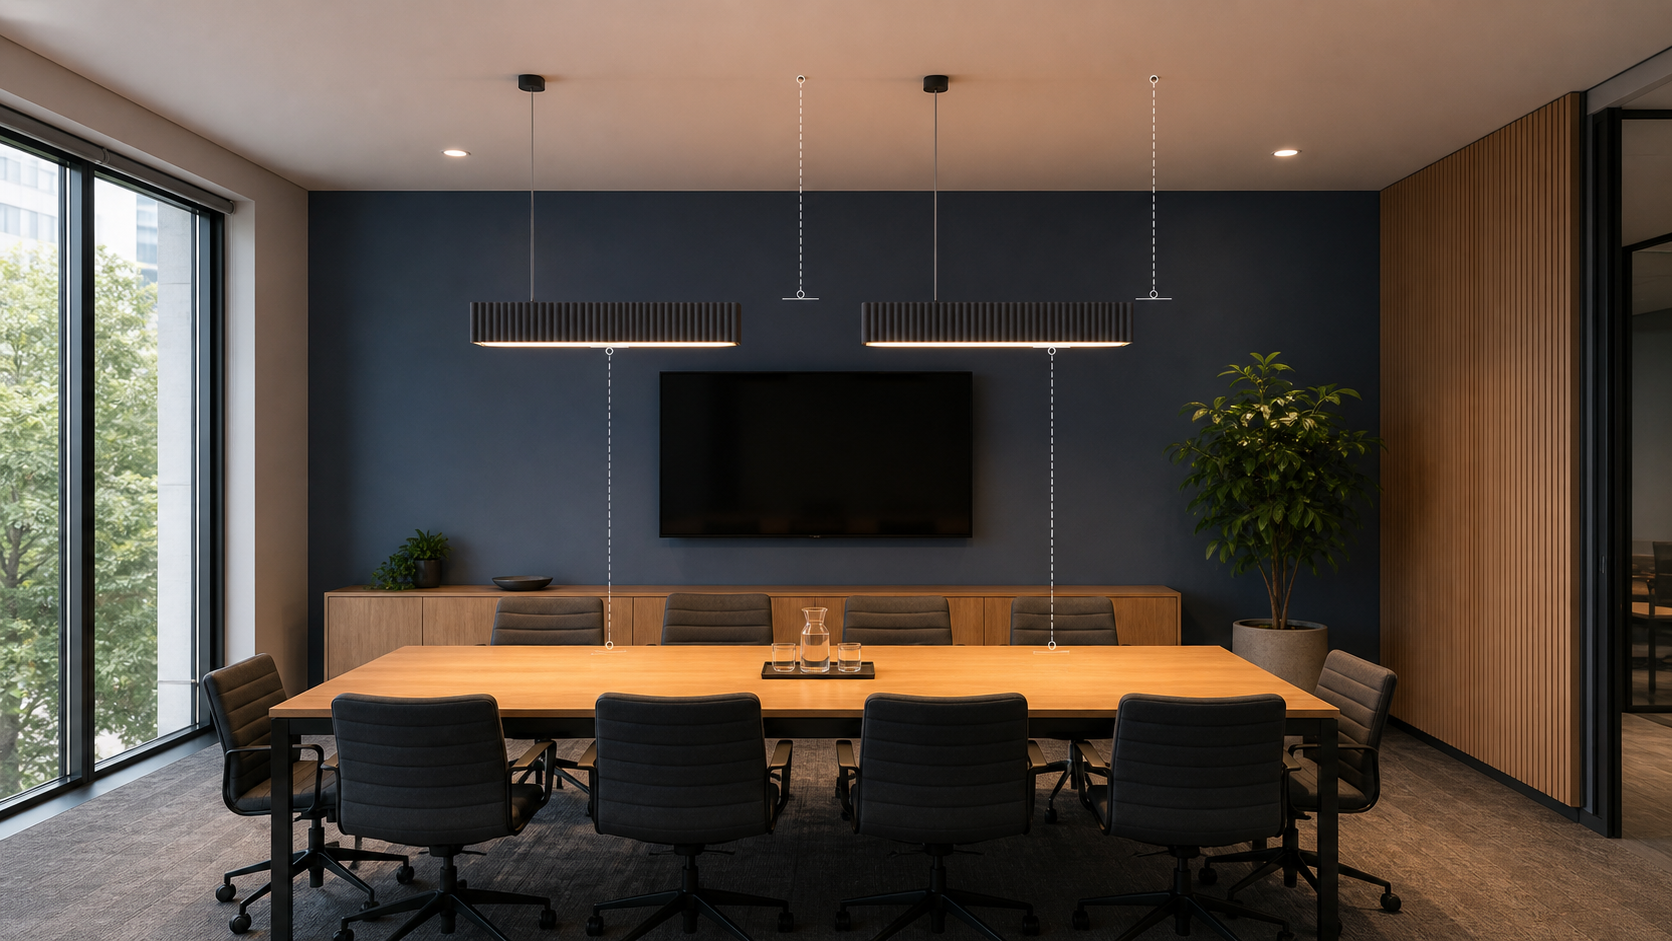
For a fixed table, 750–900 mm above the tabletop is a good place to begin a mock-up—not a rule to copy into every room.
Start with four maps, not one ceiling plan
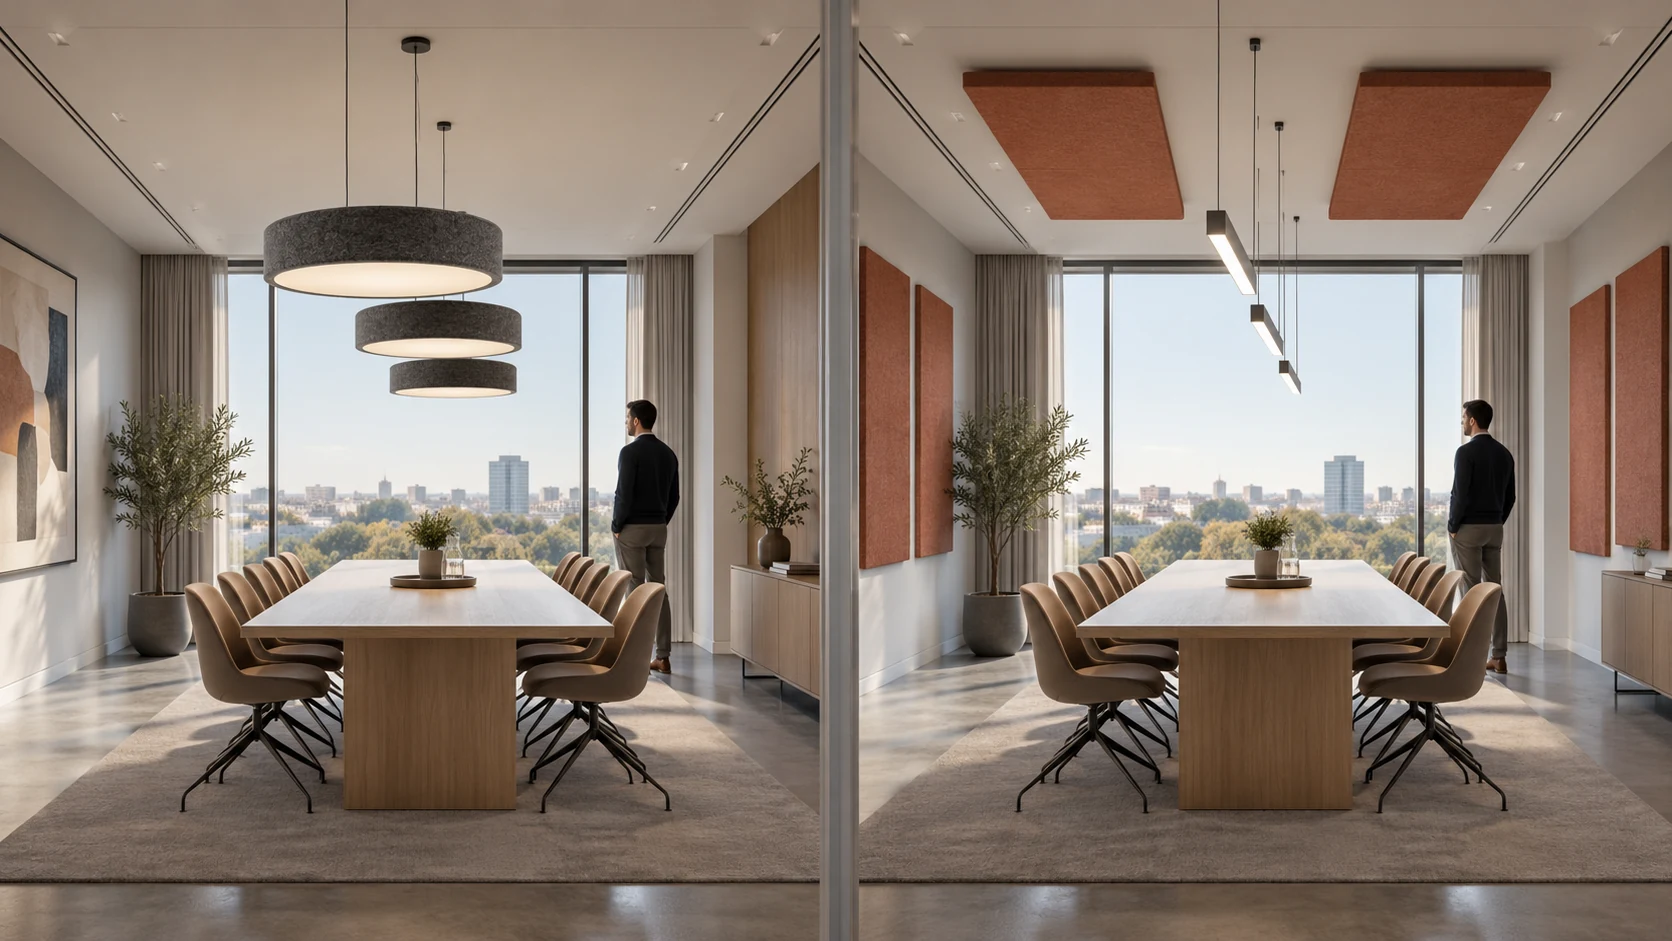
A placement that works brings four maps into agreement: the furniture and activity plan, the lighting plan, the acoustic-treatment plan and the ceiling-services plan. If a proposed pendant only works on one of those maps, it is not ready to release.
Fixed meeting and dining tables
These are the easiest places for a lower pendant: the activity is predictable and people are not normally walking under the fixture. Align a linear system with the long table axis, then check seated eye contact, camera views, screens, serving space and direct view of the diffuser. A deep felt form often needs more visual breathing room than a slim linear light.
Workstation rows
In an open office, follow the desk islands rather than the empty corridors. The pendant then has two jobs in the place that needs them: light the desk plane and distribute absorptive surface through the work area. Review standing head clearance and monitor reflections, especially where furniture may change.
Flexible rooms and high ceilings
A pendant that is safely above a table today can become an obstacle when that table moves. In training rooms and flexible dining areas, a higher grid, broader optic or a mix of acoustic lighting with separate baffles is often safer. With high ceilings, do not simply pin the fixture to the structure: use a suspension length that connects the light to the occupied zone, then verify cable stability, maintenance and the lighting calculation.
How high should an acoustic pendant light hang?
Write down the height that matters. “1.2 m suspension” is incomplete because it might mean cable length, a ceiling-to-fixture distance or a work-plane height.
| Record on the drawing | Why it matters |
|---|---|
| Lowest point above finished floor | Headroom, accessibility and circulation safety |
| Lowest point above the table or furniture | Sightlines, scale and physical clearance |
| Luminous plane above the work plane | Illuminance, spacing and glare calculation |
| Top of acoustic body below the ceiling | Indirect light, air space and comparison with tested configuration |
The IES definition of interior mounting height makes the same point: state both the reference plane and the luminaire reference point.
Use the fixed-table range as a visual test
For a fixed meeting or dining table, start around 750–900 mm from the tabletop to the pendant bottom. Raise it if the felt body blocks faces, a display or a camera; if the LED source is too visible; or if standing activity becomes likely. Lowering can work when the table is fixed, the fixture stays within its footprint and the optic remains comfortable from seated positions.
Above a circulation path, local requirements take precedence. The U.S. Access Board, for example, uses an 80-inch (about 2030 mm) minimum headroom condition for relevant circulation-path hazards; it is an example, not an international default. Confirm the locally adopted requirements with the project team.
How mounting height changes light—and why it changes spacing
Move a torch away from a tabletop and the circle becomes wider but weaker. A pendant behaves in the same broad way: a lower fixture tends to make a smaller, stronger pool of direct light; a higher one tends to spread light further with less intensity at the work plane. The actual result depends on the optic, diffuser and direct/indirect split.
| Change | Likely result | Check before approving |
|---|---|---|
| Lower the pendant | More local light, smaller pool | Glare, bright spots, faces and screens |
| Raise the pendant | Broader distribution and more clearance | Task illuminance, uniformity and visual scale |
| Use a deep felt shade | More shielding from some viewpoints | Useful output, optic and dark edges |
| Increase the ceiling gap | Different indirect-light distribution | Ceiling brightness and suspension stability |
Request the IES or LDT file for the exact fixture size, LED package, optic and diffuser. The IES overview of photometric files explains why this angular light data belongs in the calculation—not only a catalogue photo.
A safe way to start the spacing calculation
For a regular array, the fixture's spacing criterion (SC) can give an early check: preliminary spacing ≤ SC × mounting height above the work plane. IES defines SC as an estimated maximum spacing-to-mounting-height ratio for acceptable direct-light uniformity. It may differ in the two main directions for a linear or asymmetric luminaire.
Example: if the luminous plane is 1.50 m above a 0.75 m desk and the fixture SC is 1.2, the first spacing check is 1.80 m. That is a starting point, not an installation instruction. Re-run the model for the actual room, orientation, walls, desks, glare and daylight.
Lighting coverage is not acoustic coverage
This is the distinction that prevents many specification mistakes. Light has a measurable pattern on a work plane. An absorber does not make a silent circle directly below it.
| Coverage | What it means | What verifies it |
|---|---|---|
| Lighting | Illuminance and uniformity across a defined plane | IES/LDT file and lighting calculation |
| Acoustic contribution | Equivalent absorption added to the room | Complete-fixture test data and acoustic calculation |
| Acoustic distribution | Where absorptive objects sit relative to active zones | Ceiling plan and, when needed, acoustic modelling |
| Service clearance | Space around building systems | Coordinated drawings and local requirements |
A light pool is like the visible circle from a torch. Acoustic treatment is more like placing sponges around a room: each one helps with energy that reaches it, but none creates a hard boundary.
Ask for equivalent absorption area of the complete fixture, not just the NRC of a flat felt sheet. The NRC, αw and sabins guide explains why a suspended object needs its own evidence. If the light calculation needs eight fixtures but the room needs more absorption, adding eight more bright lights is rarely the right answer; consider larger acoustic bodies, separately dimmed units, unlit baffles or wall treatment.
Choose a layout pattern that matches the room
| Pattern | Good fit | Watch for |
|---|---|---|
| Single centred pendant | A small fixed table or reception point | Too little light or absorption for the rest of the room |
| Linear row | Conference tables, workstation islands and counters | Uneven light at the ends or across the width |
| Regular grid | Open offices, classrooms and larger dining rooms | Following ceiling symmetry instead of furniture |
| Decorative cluster | A reception, lounge or bar feature | Concentrating the acoustic benefit in one place |
| Mixed system | When the lighting and acoustic quantities differ | More coordination between lit and unlit treatment |
Meeting room
Mark the table, display wall, camera and seated eye lines. Centre the fixture or linear run on the table, begin the elevation study at the table range, then check faces and screens before running the final lighting and acoustic review. A pendant should support the meeting, not sit in the middle of it like a curtain.
Open office
Use the desk plane as the photometric reference; calculate spacing both along and across the workstation islands; and distribute the felt bodies through the occupied floor. Read our open-office and meeting-room planning guide for the room-by-room checklist.
Restaurant
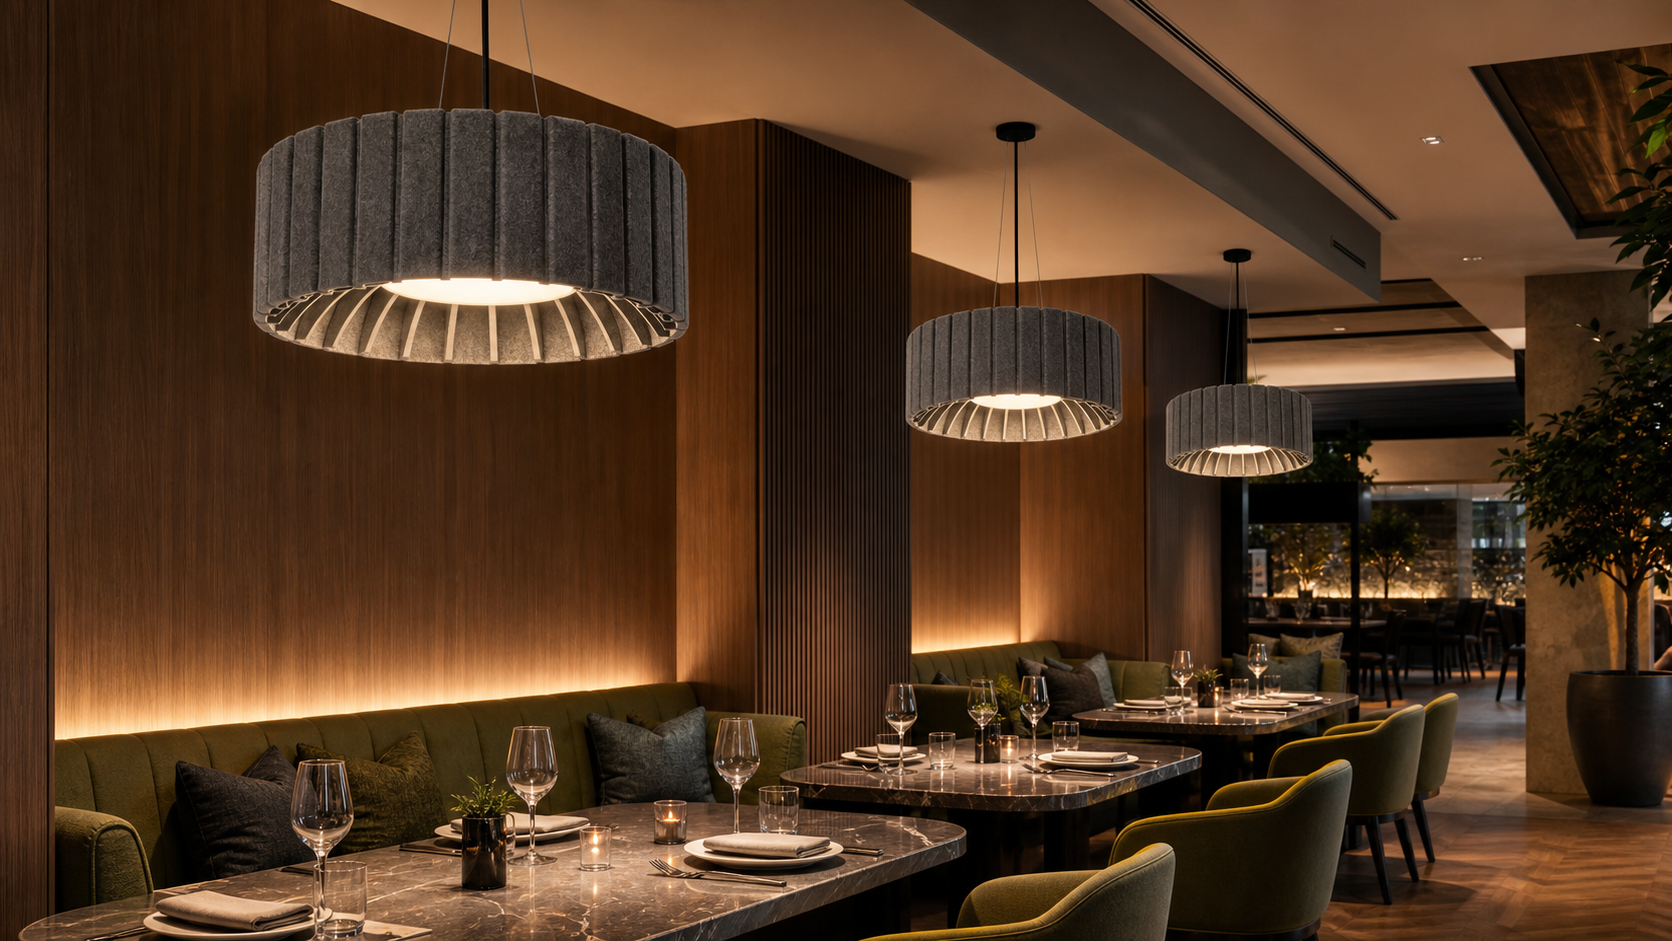
Low decorative pendants can create intimacy over fixed tables. If layouts move, use a higher flexible grid. A beautiful cluster over the bar will not automatically control noise across the dining room; spread the absorption where diners actually sit.
Coordinate ceiling services before production
Acoustic pendants take up more volume than a standard downlight. Freeze their positions only after the reflected ceiling plan has been overlaid with sprinklers, diffusers, detectors, sensors, AV, emergency lighting, access panels and structure.
| Coordinate with | What can go wrong | What to confirm |
|---|---|---|
| Sprinklers | The felt body can affect intended spray coverage | Fire-protection design and local authority review |
| HVAC | Air throw can make a light pendant sway or twist | Diffuser throw, clearance and cable stability |
| Sensors and AV | The fixture can block a detector, sensor, projector or camera | Coverage diagrams and eye-level views |
| Structure and access | Fixings or drivers can be inaccessible or overloaded | Fixture weight, fixing method, driver location and service route |
Do not use a universal sprinkler or HVAC clearance from a blog. The correct detail depends on the product geometry, ceiling height, local code and the responsible consultant's design.
A practical placement workflow
- Mark fixed furniture, flexible furniture, circulation and the real activity zones.
- Compare the provisional lighting quantity with the acoustic quantity; they may not match.
- Select a round, linear, canopy or decorative structure for the zone—not only for appearance.
- Record the first installed-height dimensions, including the pendant bottom and luminous plane.
- Run the lighting calculation with the actual product data and orientation.
- Distribute the required absorption across useful zones; add separate treatment where the lighting layout leaves a gap.
- Overlay ceiling services, then review elevations or build a mock-up.
- Issue an installation schedule with room code, coordinates, orientation, bottom height, cable length, CCT, dimming, driver location and fixing method.
Common mistakes to avoid
Measuring cable length instead of installed height
Cable length excludes the canopy, gripper, fixture depth and site adjustment. Schedule the final bottom height above finished floor.
Copying one table rule into every room
A residential dining rule is not automatically suitable for an office, lobby or flexible restaurant.
Treating a light beam as an acoustic boundary
Lighting and sound absorption need different calculations. A decorative cluster does not automatically treat an entire open room.
Changing height without rerunning the calculation
Moving the fixture changes illuminance, uniformity, glare and indirect-light behaviour. It may also move the project away from the tested acoustic configuration.
FAQ
How high should acoustic pendant lights hang above a table?
Around 750–900 mm from the tabletop to the bottom of a pendant is a useful starting range for a fixed table. The final position depends on the fixture depth, table size, sightlines, glare, cameras and lighting calculation.
How far apart should acoustic pendant lights be?
There is no universal distance. Use the exact fixture's photometric data, mounting height and spacing criterion where available, then verify illuminance, uniformity and glare in lighting software. Check acoustic distribution separately.
Can acoustic pendant lights hang over walkways?
They can, provided the lowest point complies with locally applicable headroom, accessibility and safety requirements. Lower pendants are usually easier to control over permanently fixed furniture than over flexible circulation space.
Is lighting coverage the same as acoustic coverage?
No. Lighting coverage describes illuminance across a defined work plane. Acoustic absorption adds equivalent absorbing area to a room; it does not create a silent circle underneath each pendant.
Should a pendant be centred over a meeting table?
Usually that is a good first move, particularly along a long table's axis. Then adjust for screens, cameras, ceiling services, the actual light calculation and where people need to see one another.
Does hanging a pendant lower make it more acoustic?
Not automatically. Suspension height and air space may affect a product's behaviour, but lower is not a universal acoustic improvement. Compare the planned configuration with complete-fixture test data instead of making percentage claims.
Need a second pair of eyes on a ceiling plan?
Send the floor plan or reflected ceiling plan, room dimensions, furniture layout, desired models, lighting target, acoustic requirement and known sprinkler or HVAC positions. We can help compare pendant structures, suspension options and document requirements.
Related reading and product pages
- Commercial Acoustic Lighting Specification Guide
- NRC, αw and Sabins Explained for Acoustic Lighting Buyers
- LED Acoustic Pendant Light Specification Guide
- Acoustic Pendant Lighting for Open Offices and Meeting Rooms
- Does Acoustic Lighting Really Work?
- Acoustic Pendant Lights
- Acoustic Linear Lights
- Custom Acoustic Lighting Solutions
Plan the complete ceiling system
Planning acoustic pendant lighting for a commercial project?
Share the room type, ceiling height, drawings, lighting requirements and acoustic target. We can help identify a fixture structure, suspension approach and technical-document set that fit the project.